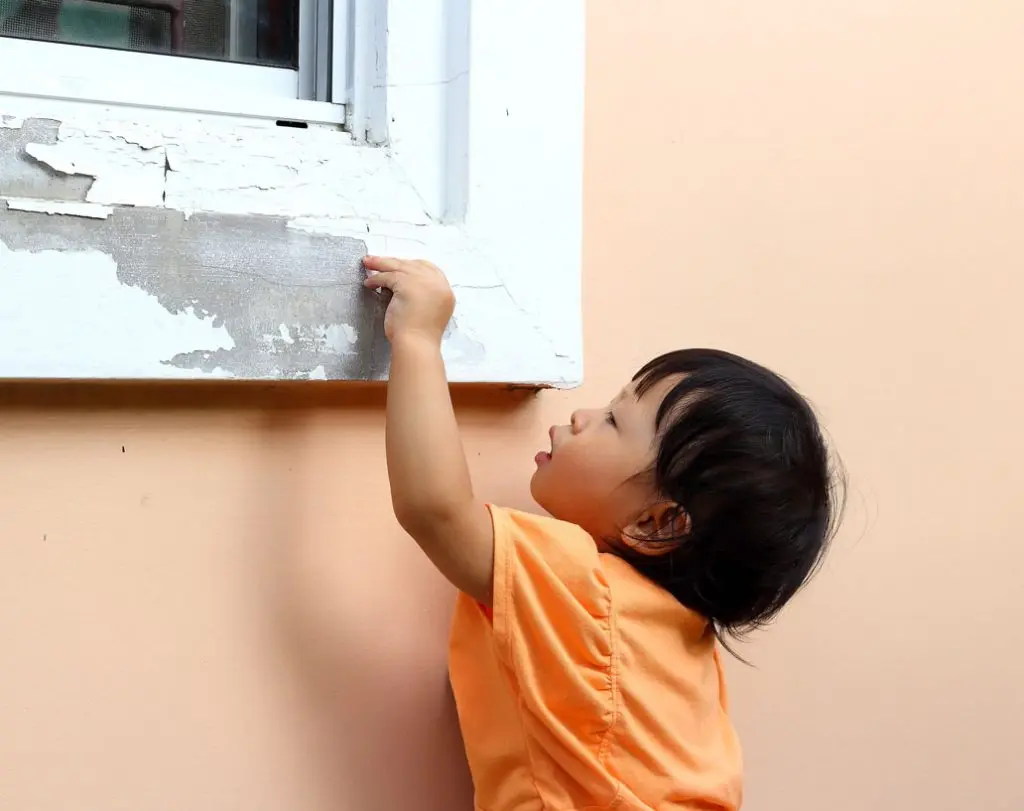
If you’re a homeowner or prospective buyer in Houston, you may have heard about the importance of lead paint inspections, especially in homes built before 1978. Understanding what to expect during this process can help ease any anxiety and prepare you for what lies ahead. In this blog, we will walk you through the essentials of a lead paint inspection, ensuring you know exactly what to anticipate.
Understanding Lead Paint and Its Risks
Lead paint poses serious health risks, particularly for children and pregnant women. In this section, we’ll explore the dangers of lead exposure and why inspections are crucial.
Lead exposure can result in a variety of health issues, primarily affecting cognitive development in children. The symptoms may not always be obvious, which is why awareness and proactive measures are essential. Additionally, pregnant women exposed to lead may risk complications that could impact both their health and that of their unborn child. These risks underscore the necessity for regular inspections, especially in older homes.
Understanding the history of lead paint is key to grasping its risks. It was widely used in homes until banned in 1978 due to its toxicity. Homes built before this date remain at risk for hidden lead paint hazards, lurking beneath layers of newer paint. This invisible threat can often go unnoticed until a thorough inspection is conducted.
Preparing for a Lead Paint Inspection
Preparation is key to a successful inspection. Here, we’ll outline the steps you can take to get ready for the professionals and what materials you may need to have on hand.
The first step in preparing for an inspection is to clear the area. Move furniture away from walls, and remove any items that might obstruct access to painted surfaces. This ensures that the inspector can perform a thorough evaluation without delays. Having a clean and accessible workspace makes a world of difference.
Additionally, gather any documents related to the home’s history, including past renovations or paint jobs. These records can provide valuable context for the inspectors. It’s also wise to educate yourself about the inspection process beforehand so you can ask informed questions and fully understand the results.
Lastly, consider discussing the inspection with your neighbors or friends who might have undergone the process before. Their firsthand experiences can be invaluable in alleviating concerns you may have, providing insights into what to expect during the evaluation.
What Happens During the Inspection?
During a lead paint inspection, trained specialists will conduct a thorough evaluation of your property. This section will detail the methods used and what they will examine.
Inspectors often start with a visual assessment. They will look for any signs of deterioration, such as peeling or chipping paint, which could indicate lead hazards. After this visual inspection, they use specialized tools, like X-ray fluorescence (XRF) analyzers, to determine the presence of lead in paint layers. This non-invasive method allows them to assess lead levels without damaging your property.
It’s also important to note that inspectors will check not only the walls but also windows, doors, and other painted fixtures, as these are common areas for lead paint exposure. The process is systematic and comprehensive, ensuring that every potential risk is evaluated. Depending on the size of your home, the inspection can take anywhere from a couple of hours to an entire day.
Interpreting the Inspection Results
After the inspection, you’ll receive detailed results. This segment will explain how to interpret these findings and what different outcomes might mean for you as a homeowner.
The results will typically include a report that details the areas inspected, any lead detected, and the levels of exposure. Understanding this information can feel overwhelming at first. A positive lead test indicates that lead is present, which necessitates further action. However, it’s crucial to note that the degree of risk can vary significantly based on the lead levels and the condition of the paint.
If lead paint is found, don’t panic. There are several pathways you can take. The report will likely suggest remediation options tailored to your specific situation. Knowing how to read and react to this report empowers you to make informed decisions about repairs or further testing needed to ensure a safe living environment.
Next Steps: Mitigation and Safety
Should lead paint be detected, this section discusses your options for remediation and necessary safety measures to protect your household.
The first step in mitigation is understanding the difference between encapsulation and removal. Encapsulation involves sealing the lead paint with a special coating, while removal is a more drastic measure that includes physically stripping the lead paint. Each option has its advantages and drawbacks, and your choice will depend on various factors, including the extent of the lead contamination and your home environment.
Implementing preventive measures is crucial as well. Regular maintenance and inspections can help mitigate risks further. Keeping your home well-painted and ensuring any deteriorating paint is promptly remedied maintains a lead-safe environment. Furthermore, educating your family about lead safety and maintaining a clean, dust-free home is essential in minimizing exposure.
Wrapping Up the Inspection Process
Navigating the lead paint inspection process in Houston doesn’t have to be overwhelming. With a little preparation and understanding of what to expect, you can ensure a thorough inspection that keeps your home safe. Remember, knowledge is your best tool in making informed decisions about your property. So, whether you’re selling or buying a home, stay informed and proactive about lead paint safety.

